Adding photos
Adding a photo to a load is a simple way to visually document deliveries and site activity. This can help clarify timelines, confirm materials, and add transparency to your job records. Follow these steps to attach a photo to any haul within an active job.
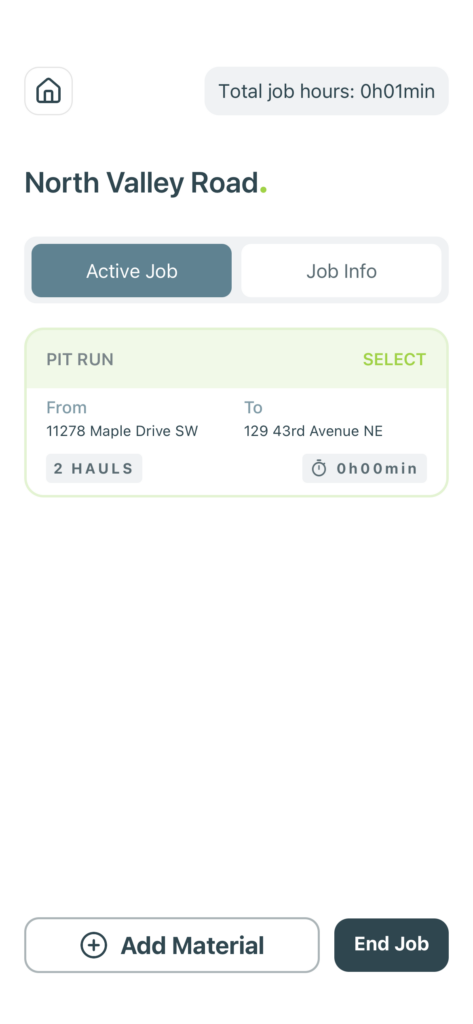
From the Home screen, tap the job card listed under the “Active Job” tab. You’ll be taken to the job summary view.
You can only add photos while a job is active.
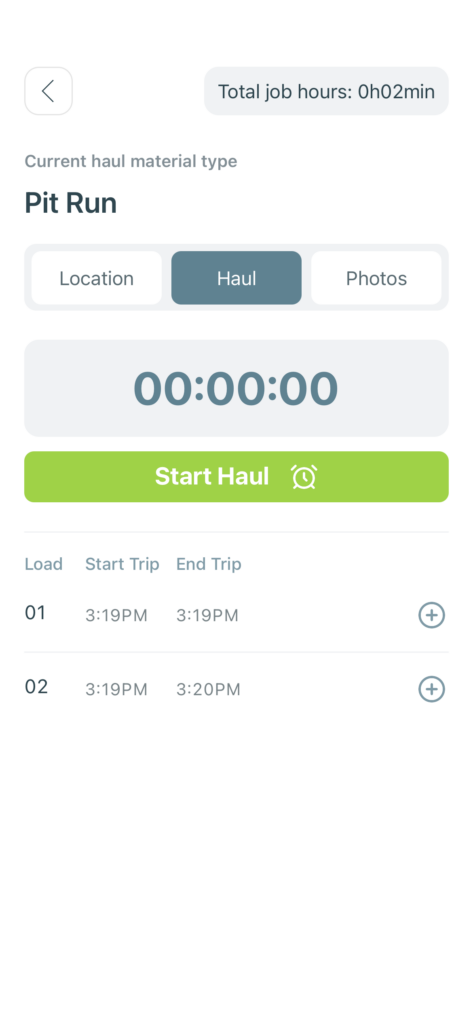
Each completed haul includes a plus button to the right. Tap this icon to activate the Add Photo menu.
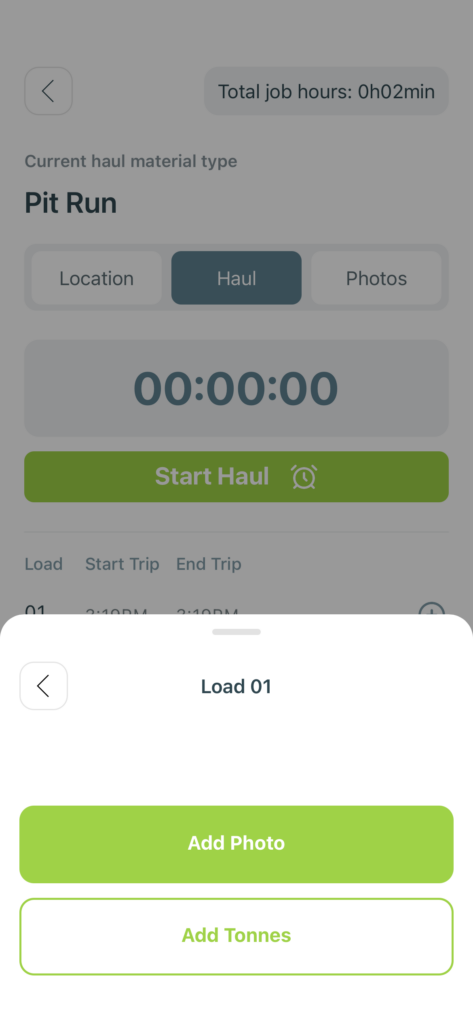
You can also use this menu to add tonne data if needed.
Choose the Add Photo button. This will open your device’s camera so you can snap a picture of the load or site condition.
Make sure you have camera permissions enabled on your device.
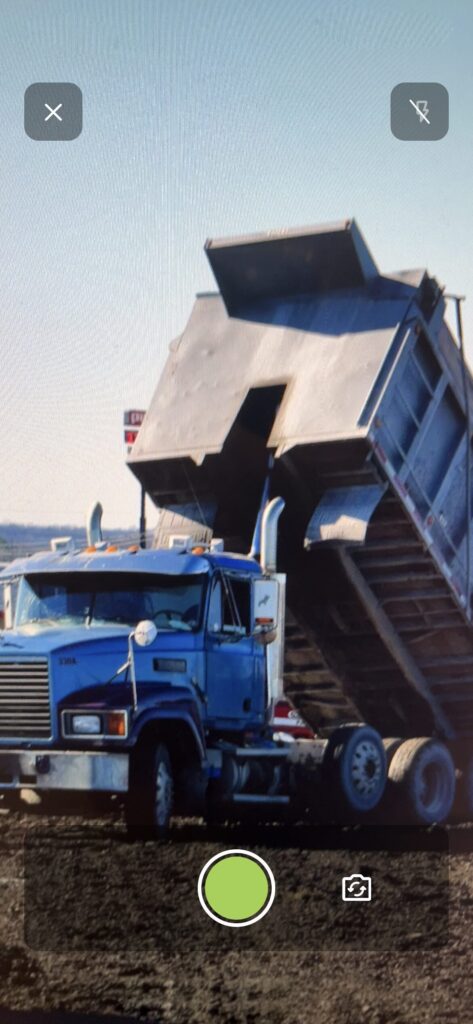
Use your camera to take a clear photo of the load. When you’re satisfied with the image, tap the green shutter button.
Try to take photos in good lighting and include identifying details like truck or site features.
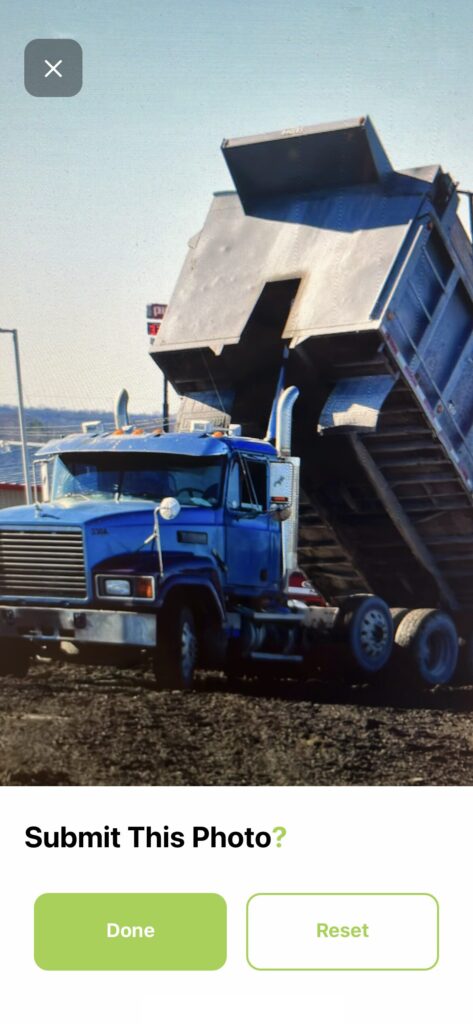
Review the image. If it looks good, tap Done to attach it to the load. If you need to retake it, tap “Reset” instead.
You can always view submitted photos under the Photos tab in the haul view.
Was this helpful?